Tuesday, September 10, 2013

Absolutely Perfect and Easy Pizza Dough

Disclaimer: This recipe uses white flour! I have not tried it yet with whole wheat, but I will be experimenting with it soon.

So now that you have read the disclaimer and are okay with the fact that this recipe uses white flour (I know it's bad, but this recipe is oh so good), get ready to make a dough that comes out perfect every time! I have to give all the credit to Lauren's Latest for creating this superb recipe! She has far more amazing photos than I do and if you want step by step photos, check out her page.

Here is what you will need:
  • 1 cup warm water
  • 2 1/4 tsp. Active Dry yeast
  • 1 Tbsp. Honey
  • 2 tsp. salt
  • 2 Tbsp. olive oil
  • 3 cups bread flour (give or take- I use all-purpose and it turns out perfect)
Instructions:

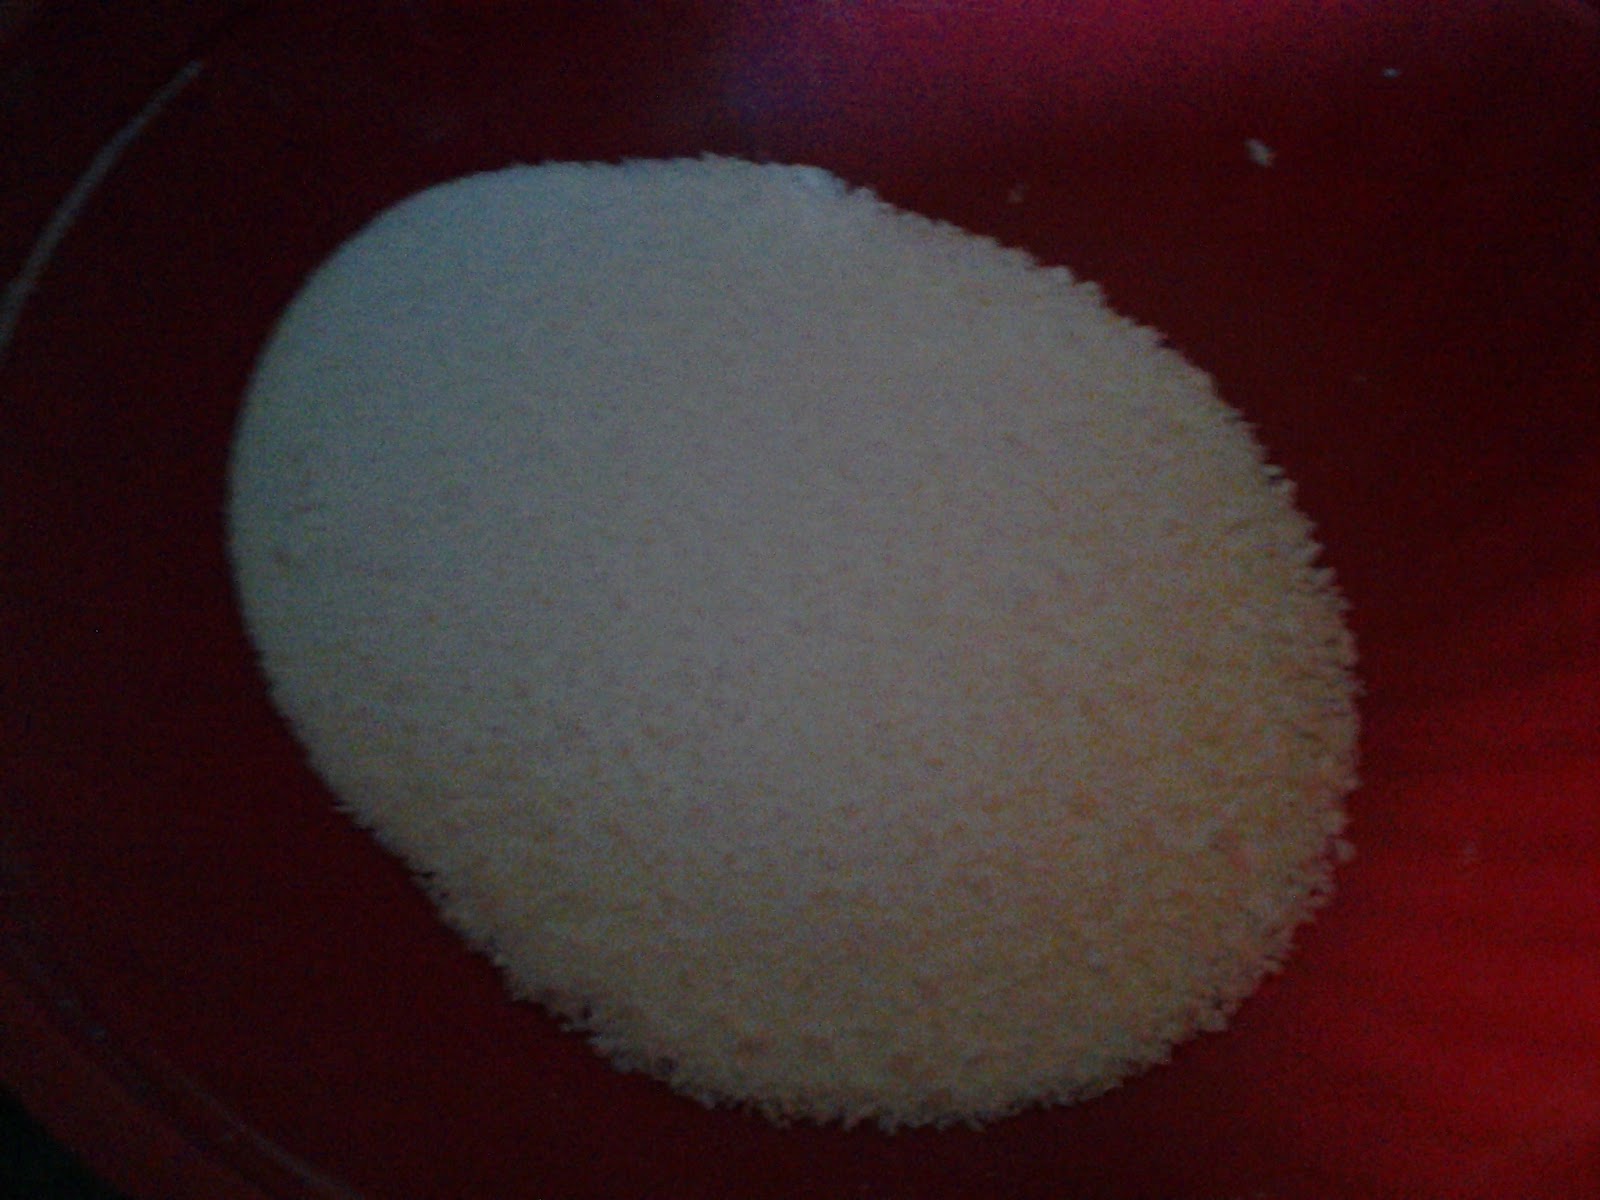
I use a stand mixer set with a dough hook, but a large bowl and spoon will work too. Stir yeast and honey into warm water. Allow it to sit for 5 to 10 minutes, or until it begins to bubble or foam. Add salt, oil, and half of the flour. Mix. Once that flour is incorporated, begin adding the remaining flour until you get a consistency that is slightly tacky, but does not stick to your hands. Lauren's Latest has great pics of this. Once the dough has reached desired consistency, knead in the mixer (or by hand) for 6 minutes (maybe longer if hand kneading). Yes, 6 minutes. Set a timer. I promise the ends results will be worth the effort of timing it. My son loves staring at the mixer going around and around for 6  whole minutes, so this provides toddler entertainment as well. :) After 6 minutes in the mixer, the dough should be very smooth and elastic. The bowl should be clean. Lightly grease bowl and dough. Cover and let rise for 1-2 hours, or until double in size. Then it is ready to be rolled out and used. Makes about a pound of dough.


For pizza: I sprinkle cornmeal on parchment paper and then roll my dough into a circle on that. That makes it really easy transfer to my pizza stone. I preheat my oven to 400-500 degrees F with my stone inside (I prefer 400 degrees. 500 will make a much more crunchy crust). Top with all of your yummy toppings and transfer to stone (simply lift parchment paper and put directly on stone. Easy!). Bake 15-20 minutes, or until cooked through.

Enjoy!

Momma Makes it Better!
~Anna

Sunday, September 8, 2013

Honey Whole Wheat Bread

I started making all of our bread and such at home, from scratch. This is what prompted me:

I found this bag of store bought bread in the back of my pantry. We had opened it several weeks earlier and didn't use it all. Still looks pretty good, right? That is what freaked me out. This opened package of bread had been sitting there for weeks and was still soft and had not signs of mold. I am concerned as to what additives and preservatives are being added to our foods and what they are doing to our bodies. This is why we are trying to make as many things from scratch as possible, to cut out these additives and preservatives.

So now I had to find a bread recipe. I wanted one that didn't use white flour and had as few ingredients as possible. I stumble upon the perfect recipe at Make it Love it Share it. There is a dandy recipe for Honey Whole Wheat Bread. I decided to give it a try and it is what I have been making ever since. No bagged store bought bread has found its way into my house. Not a hot dog bun, hamburger bun, or tortilla! Be sure to check out my homemade whole wheat tortilla post. Now on to making this delicious bread!

You will need:
  • 3 Tbsp. Active Dry Yeast
  • 4 cups really warm water
  • 1/2-3/4 cup honey
  • 10- 11 1/2 cups whole wheat flour (freshly ground, if possible-I don't have a grinder, unfortunately, so I just buy already ground flour)
  • 3 tsp. sea salt
  • 1/4-1 cup add-ins, if desired: oats, ground flax seeds, sunflower seeds, etc. (I use oatmeal because I love it and for its health benefits. I would love to find ground flax seeds around here because I love those too.)
  • olive oil (I have mine in a stainless cooking oil sprayer as an alternative to commercial cooking sprays. I LOVE it!)
Now to make your delicious bread:
  1. If you need to grind your wheat, do so now. Otherwise move ahead.
  2. In the bowl of a stand mixer (or a large bowl, if not using a mixer), add water, yeast and honey. Mix well and let sit for 5-10 minutes, until a bubbly foam appears.
  3. Add flour. I attach the dough hook and stir while adding flour. I add all 10 cups, 1/2 cup repetitively, until all 10 cups are in. I have never needed the extra 1 1/2 cups.
  4. Add salt and any of your add-ins and mix gently until incorporated.
  5. Knead in the mixer for 4-6 minutes (maybe longer if hand kneading). I usually set it at speed 4-6 for this and let it do the work. This is a sticky dough. Knead just until it pulls away from the bowl.
  6. Let dough rise for 15 minutes.
  7. Grease the back of your hand and punch down the dough really well.
  8. Form into loaves. I shape mine into a large loaf on the counter and cut into 3 pieces with a large bread knife.
  9. Put loaves into 3 greased pans. I don't have 3 loaf pans so I use what I have. 
  10. Let rise in pans for 30 minutes. (*Tip from Make it Love it Share it: Let dough rise in the microwave with a steaming cup of water, microwave off, of course. This works great.)
  11. Bake in a 350 degree F oven for 30 minutes. (*Tip from Make it Love it Share it: Put a large glass baking dish of water on the bottom rack while baking the bread. I do it and my bread comes out perfect.)
  12. Remove from pans and cool on wire racks.


For additional pictures during each step, visit Make it Love it Share it.

Enjoy!

Momma Makes it Better!
~Anna

Thursday, September 5, 2013

Taco Seasoning

I have used this recipe for years as an alternative to the taco seasoning that comes in a pouch at the store. The ingredients are most likely already in your spice cupboard and this tastes much better, without additives and msg. I am from Ohio, in the heart of Amish country. I found this great little cookbook at a store in Mt. Hope and it has long since been one of my favorites! It just so happens to have a great recipe for taco seasoning. Also, Mt. Hope has this great health food store, run by local Amish, that sells bulk spices, as you can see below. We no longer live in Ohio, but my dear mother-in-law sends me what I need and keeps me supplied! God bless her!


Here is what you will need:
  • 1 Tbsp. chili powder
  • 2 tsp. onion powder
  • 1 tsp. cumin powder
  • 1 tsp. garlic powder
  • 1 tsp. paprika
  • 1 tsp. oregano
  • 1 tsp. sugar
  • 1/2 tsp. salt
Combine all ingredients and mix well. Store in an airtight container if not using right away. This recipe is equal to one store bought packet, about 3 Tbsp. You could make a large batch and use 3 Tbsp. each time a "packet" was needed. This is such a great blend and a wonderful alternative to the pre-packaged taco seasonings. I hope you enjoy it as much as I do!
 
Momma Makes it Better!
~Anna


Wednesday, September 4, 2013

Homemade Ketchup

I had never had homemade ketchup in my life. I had never even thought about making such a thing. I just always grabbed a bottle at the grocery store. As I become increasingly aware of all the additives and preservatives in our food, I decided to give making a ketchup a try. We live in military housing, so we don't have much room for a garden. We planted tomatoes in a container garden this year and the NC coast heat pretty much left ruined our crop. There definitely was not enough to make and can anything. I did, however, find this great recipe at the DIY Natural blog that anyone can make. No garden needed! They have perfected this homemade ketchup recipe. It is delicious!

Here is what you will need:


  • 1 can (6-7) ounces tomato paste (they called for organic, but I use Hunt's all natural)
  • 1/2 cup distilled white vinegar
  • 1/4 cup pure maple syrup
  • 1/4 cup water (they called for filtered water, use what you are comfortable with*)
  • 1 tsp. sea salt (is there any other type of salt? Just kidding, but that is all I use)
  • 1/4 tsp. onion powder
  • 1/8 tsp. garlic powder
Combine all ingredients in a medium saucepan over med-high heat. Whisk to blend ingredients until smooth.
Bring to a boil, then reduce heat to a simmer, scraping sides and bottom of pan as needed. Simmer until desired thickness is reached, 20-25+ minutes. Remove from heat and cool. Transfer to a jar, seal, and refrigerate.

This recipe made about 3/4 of a pint. It should keep in the refrigerator for at least a month*. You can also preserve large batches using the water bath canning method, if desired.

*Betsey Jabs from the DIY Natural blog states that "Regular tap water would work, but it may shorten the shelf life of your ketchup because tap water contains contaminants. If using tap water, boil it for about 15 minutes before adding it to your recipe & this should help."

Thank you, DIY Natural, for another delicious recipe!

Momma Makes it Better!

~Anna

Saturday, August 31, 2013

Homemade Whole Wheat Tortillas

I stopped buying bread and tortillas at the store. Stay tuned for my homemade bread post, where I will explain why. Anyway, since we make a lot of Mexican food, I needed a recipe for whole wheat tortillas. I found a great one at the 100 Days of Real Food blog. If you are looking to cut out processed food, you should check out this amazing blog. These tortillas are quite simple to make and they are delicious! You won't want the soft, strange tasting ones that come in a plastic bag anymore!

You will need:
  • 2 1/2 Cups whole wheat flour
  • 1/2 Cup oil (I use Extra-Virgin Olive Oil)
  • 1 tsp. sea salt
  • 1 cup warm water (original recipe stated to heat water in microwave for 1 min. This worked well.)
Steps:
  1.  Add flour, oil and salt to the bowl of a stand mixer. Using the dough hook, beat until crumbly, about 3-5 minutes. Scrape the sides of the bowl as needed.
  2. Gradually add the warm water, while mixing. Continue to mix until dough is smooth, about 3 minutes. I had to add a bit more flour than the recipe calls for to get a smooth dough, so use your best judgment. 
  3. Transfer dough to a lightly floured board or counter and divide into 12 pieces. As 100 Days of Food suggests, roll into an 8-10 in. log, cut in half, then cut each half into 3 pieces, and then cut each piece in half to make 12. Or use whatever method is easiest for you.
  4. Roll each piece into a round ball and then flatten. Cover and let sit for 15 minutes-1 hour.

  5. Heat skillet over med-high heat and get the pan fairly hot before you begin cooking the tortillas.
  6. On the lightly floured board or counter, roll each ball into an 8-10 in circle before cooking it. These will come out very thin. Use your fingers to gently peel it off the counter or board. I only used a light dusting of flour to roll each tortilla, so the excess didn't burn in the pan. I rolled one tortilla at a time and then rolled the next while the previous one was cooking.
  7. Grease the pan with a bit of oil and cook tortillas one at a time, until bubbly and slightly brown, about 30-45 seconds each side. Eat within an hour, refrigerate, or freeze.
I didn't get a picture of the finished product because I was rushing to get dinner finished. Sorry! If you want to see the finished product, visit 100 Days of Real Food for some nice pictures. Enjoy!

Momma Makes it Better!

~Anna

Friday, August 30, 2013

Homemade Laundry Detergent

As requested, here is the easy-peasy recipe for homemade laundry detergent. I love it. Our clothes come out clean and smelling fresh. I found the recipe at one of my favorite blogs, DIY Natural. Their blog is like pure heaven to me!

For the laundry detergent you will need:
  • A bar of soap (about 4.5 oz. size), shaved. I use Kirk's Castile, but others have also recommended Fels-Naptha and Zote. DIY Natural has more recommendations.
  • 1 cup Borax
  • 1 cup Washing Soda (not baking soda) *Learn how to turn baking soda into washing soda at Penniless Parenting.

 Step 1: Shave the bar of soap. I like to recruit my husband for this! He is much faster than me.


Step 2: Add Borax and washing soda. Mix well and it's ready to use!


I use 1 tablespoon per load. You may use more (2-3) for heavily soiled or large loads. One tablespoon has been plenty for all our laundry. Upon another momma's recommendation, I add a little bit of shaved Fels-Naptha (I don't use it in my regular recipe because I have not researched the ingredients) for my husbands dirty, sweaty cammie uniforms to get the yuck out. My fellow military spouses know what I mean! Field cammies are hard to get clean!

For more recommendations, information, cost comparisons, and links regarding the use of Borax, please visit DIY Natural's original post.

Be sure to let me know how it works for you and don't forget, Momma Makes it Better!

~Anna

Thursday, August 29, 2013

Homemade Granola Cereal

Hello everyone! Welcome to my first post on yummy from-scratch food! Some friends have requested that I share some of the things I make on a blog, so here it is! Please be patient with me as I figure all this out.

So, for the homemade granola cereal. I LOVE granola cereal. I really won't eat any other cereal. I grew up on the processed sugary stuff and now the thought of it and all the additives and food coloring turns my stomach. Back to the granola. It can be very expensive to buy in the store and I want to know what all is going into my food, so I searched for a recipe to make my own and found a great one at Homestead Revival. They have much better pictures than mine too!

Let's get started! For my version of this recipe, you will need:

Dry Ingredients
6 cups rolled oats (not quick oats)
1 1/2 cups chopped nuts of choice (I use almonds in mine)
1 cup shredded coconut
1-2 tsp ground cinnamon, depending on your taste

Wet Ingredients
1/2 cup local honey (add more for a stickier, clumpier granola according to Homestead Revival)
1/2 cup coconut oil

It doesn't get any better than that! Yum! Check out Homestead Revival for other options and add-ins for your granola cereal. This is just how I make mine.

Preheat oven to 300 degrees F

Step 1: Combine dry ingredients in a large bowl

Step 2: Combine wet ingredients in a saucepan and heat slowly, until honey and coconut oil are well incorporated

Step 3: Pour the warmed honey and coconut oil mixture over the dry ingredients and mix well.

Step 4: Spread mixture into jelly roll pans


Bake in 300 degree F oven for 40 minutes, stirring every 10 minutes.

Your final creation should look something like this:


Store in an airtight container and enjoy! Yum!


Don't forget, Momma makes it better!

~Anna